


vue-cli与webpack区别
vue-cli2和vue-cli3的区别
这里选用vue-cli3
1 vue-cli
1 webpack
npm install -g @vue/cli

npm install -g @vue/cli-init

vue create vue-tool
可以使用 vue ui 图形化界面管理安装插件依赖等
2 webpack
npm install -g @vue/cli

npm install -g @vue/cli-init

vue init webpack vue-tool

参考 https://blog.csdn.net/weixin_43974265/article/details/112743656
vue build 构建方式(暂且这么解释)
两个选择(上下箭头选择,回车即为选定)
1.Runtime + Compiler:recommended for most users
(译:运行+编译:被推荐给大多数用户)
2.Runtime-only:about 6KB lighter min+gzip,but templates (or any Vue-specific HTML) are ONLY
allowed in .vue files-render functions are required elsewhere
(译:只运行大约6KB比较轻量的压缩文件,但只允许模板(或任何VUE特定HTML)。VUE文件需要在其他地方呈现函数。翻译不精准,意思大概是选择该构建方式对文件大小有要求)
我选择runtime-only
Pick an ESLint preset:选择分支风格
选项有三个
1.standard(https://github.com/feross/standard) js的标准风格
2.Airbnb(https://github.com/airbnb/javascript) JavaScript最合理的方法,这个github地址说是JavaScript最合理的方法
3.none (configure it yourself) 自己配置
具体选择哪个因人而异吧 ,我选择标准风格
其他都走y或者回车
npm install -g npm-check-updates
ncu // 查看可更新包
ncu -u // 更新package.json
npm install // 升级到最新版本
借助第三方工具包更新vue依赖,这命令会导致升级到vue3…vue3语法不熟悉暂不用
npm update
npm WARN optional SKIPPING OPTIONAL DEPENDENCY: fsevents@1.2.13 (node_modules\fsevents):
npm WARN notsup SKIPPING OPTIONAL DEPENDENCY: Unsupported platform for fsevents@1.2.13: wanted {"os":"darwin","arch":"any"} (current: {"os":"win32","arch":"x64"})
npm WARN optional SKIPPING OPTIONAL DEPENDENCY: fsevents@2.3.2 (node_modules\chokidar\node_modules\fsevents):
npm WARN notsup SKIPPING OPTIONAL DEPENDENCY: Unsupported platform for fsevents@2.3.2: wanted {"os":"darwin","arch":"any"} (current: {"os":"win32","arch":"x64"})
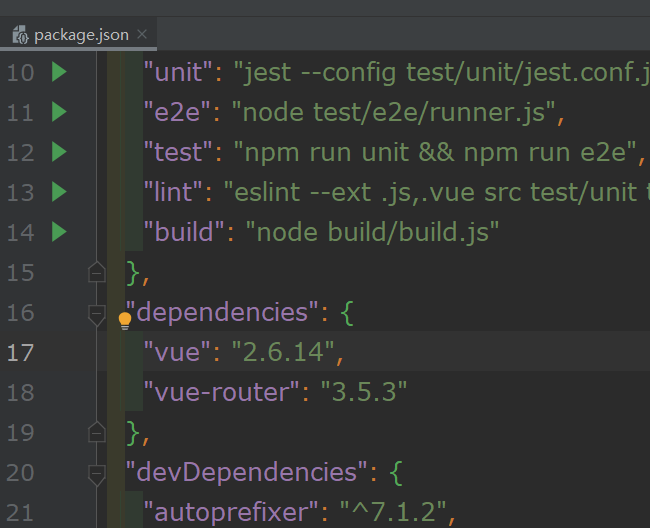
+ vue@2.6.14
+ vue-router@3.5.3
added 1857 packages from 1111 contributors in 43.107s
手动更新package.json,把依赖版本手动填入
删除node_module,重新npm i 安装一遍依赖
基本安装依赖命令理解:
https://blog.csdn.net/qq_43886365/article/details/128142175
此处记录引入的依赖
-S
1 vue-router //路由
2 element-ui //第三方框架
3 axios //http请求
-D
1 node-sass //css框架
2 sass-loader //css框架
3 style-loader //css框架
在安装完element-ui,用webstorm使用时发生了一些小插曲,点击
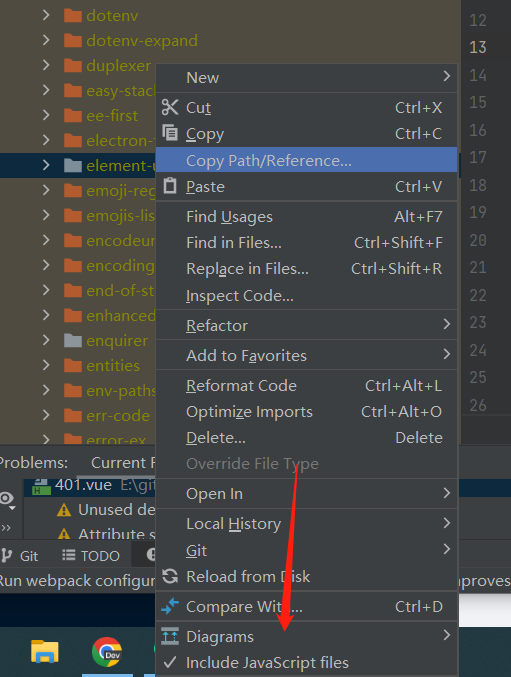
试了很多方法,后面自己好了,原因应该是webstorm缓存。
ES6语法 Object.assign(target, …sources)
Object.assign() 方法:将源对象(source)所有可枚举的属性, 复制到目标对象(target)。 它至少需要两个对象作为参数。 第一个参数为目标对象, 第二个参数为源对象。


评论区